XT-XINTE 20/24 Pin Computer PC Power Supply Tester Checker Meter 12V 5V 3.3V LED Indication Diagnostic Tools for PSU ATX SATA HDD Testing
Features:
The power supply tester is a robust voltage tester for PC-Power supply
Power supply, protect your computer from damage
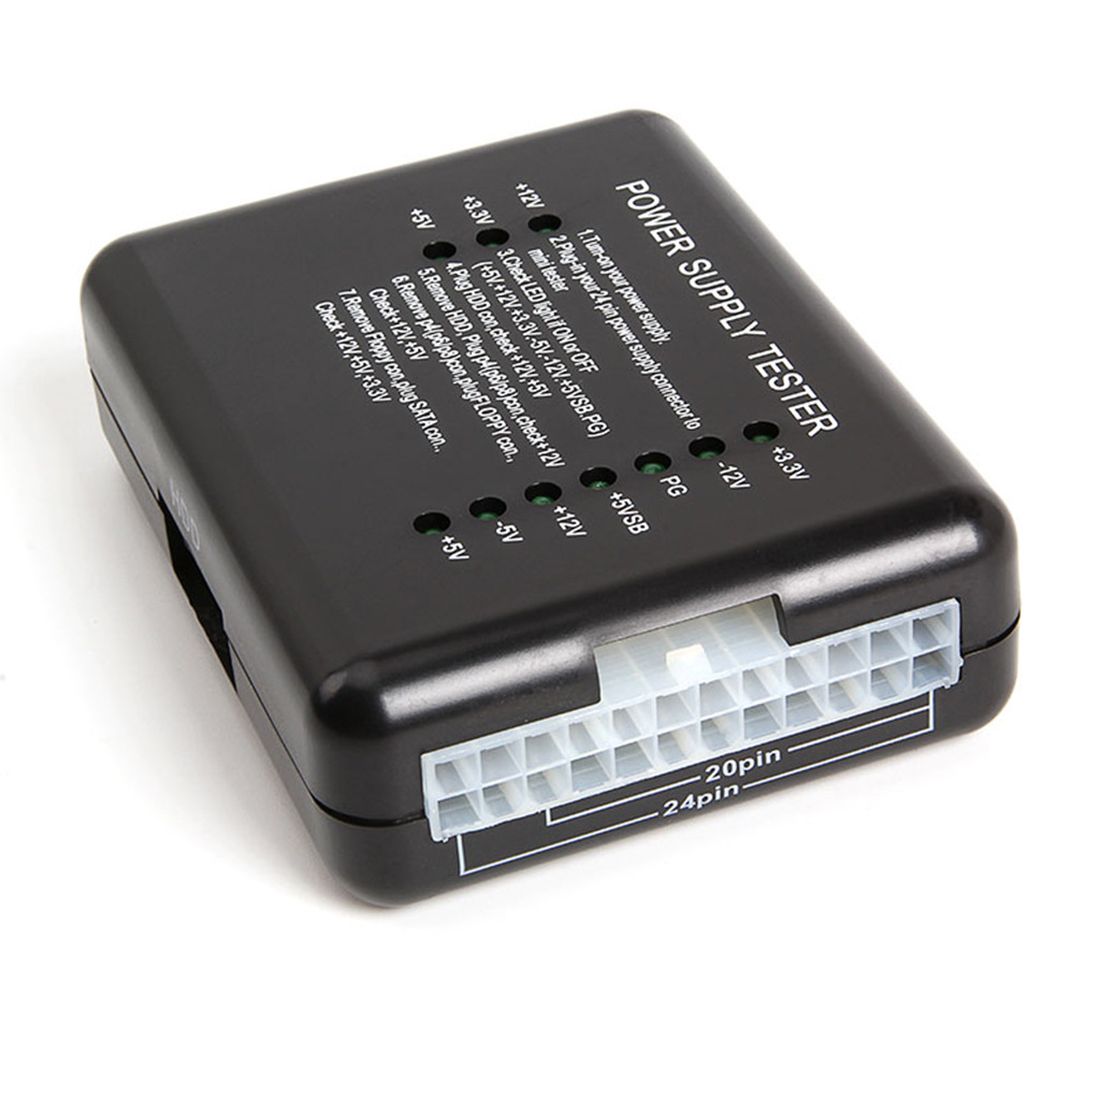
Voltage source: 20 / 24PIN (ATX Connector)
Green light = Power is OK
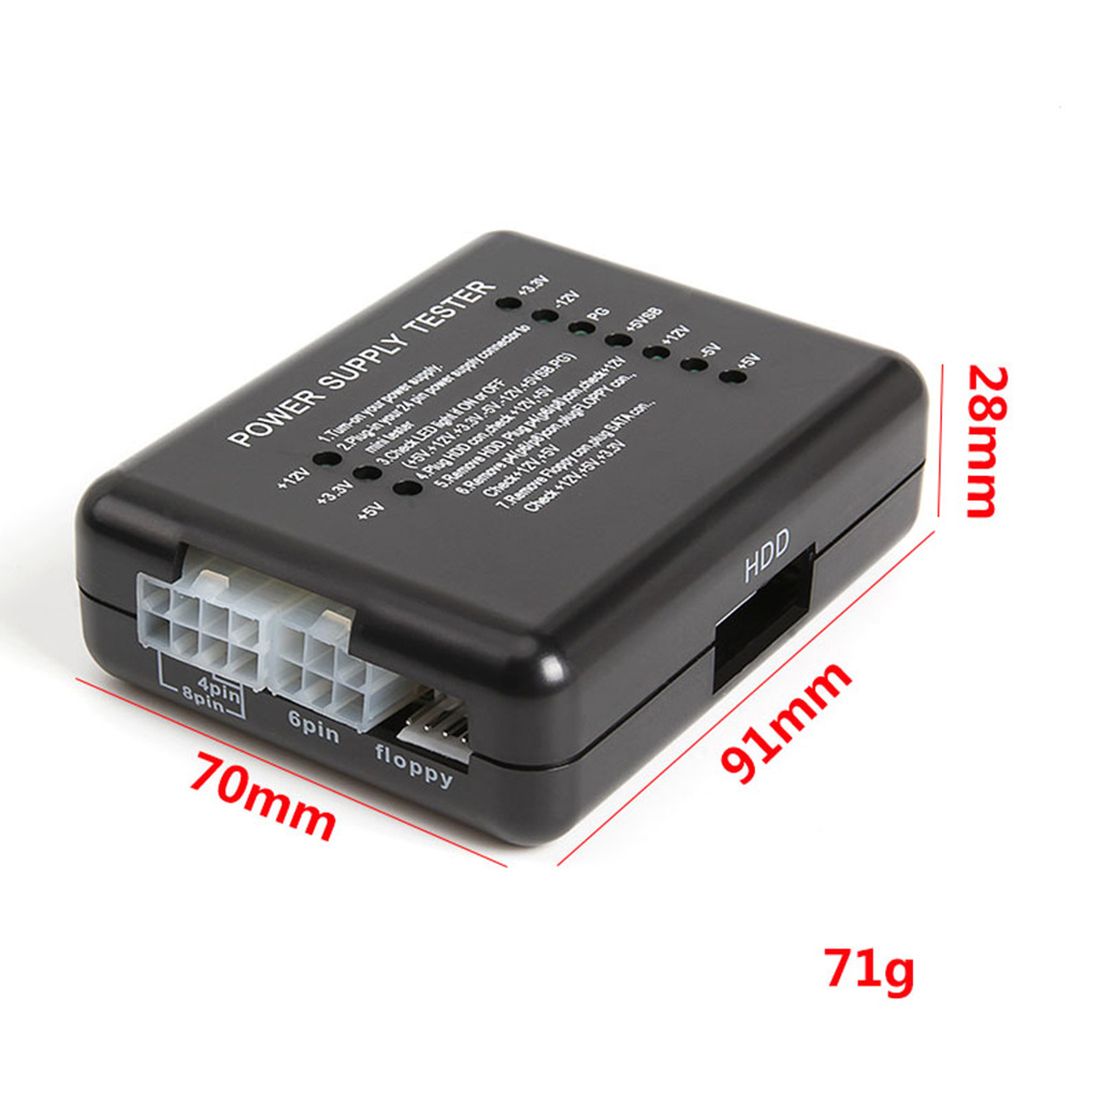
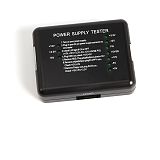
VOLTAGE TEST: + 12V, -12V + 5V, -5V + 3.3V, 5V STAND-BY (SB), GOOD POWER (PG)
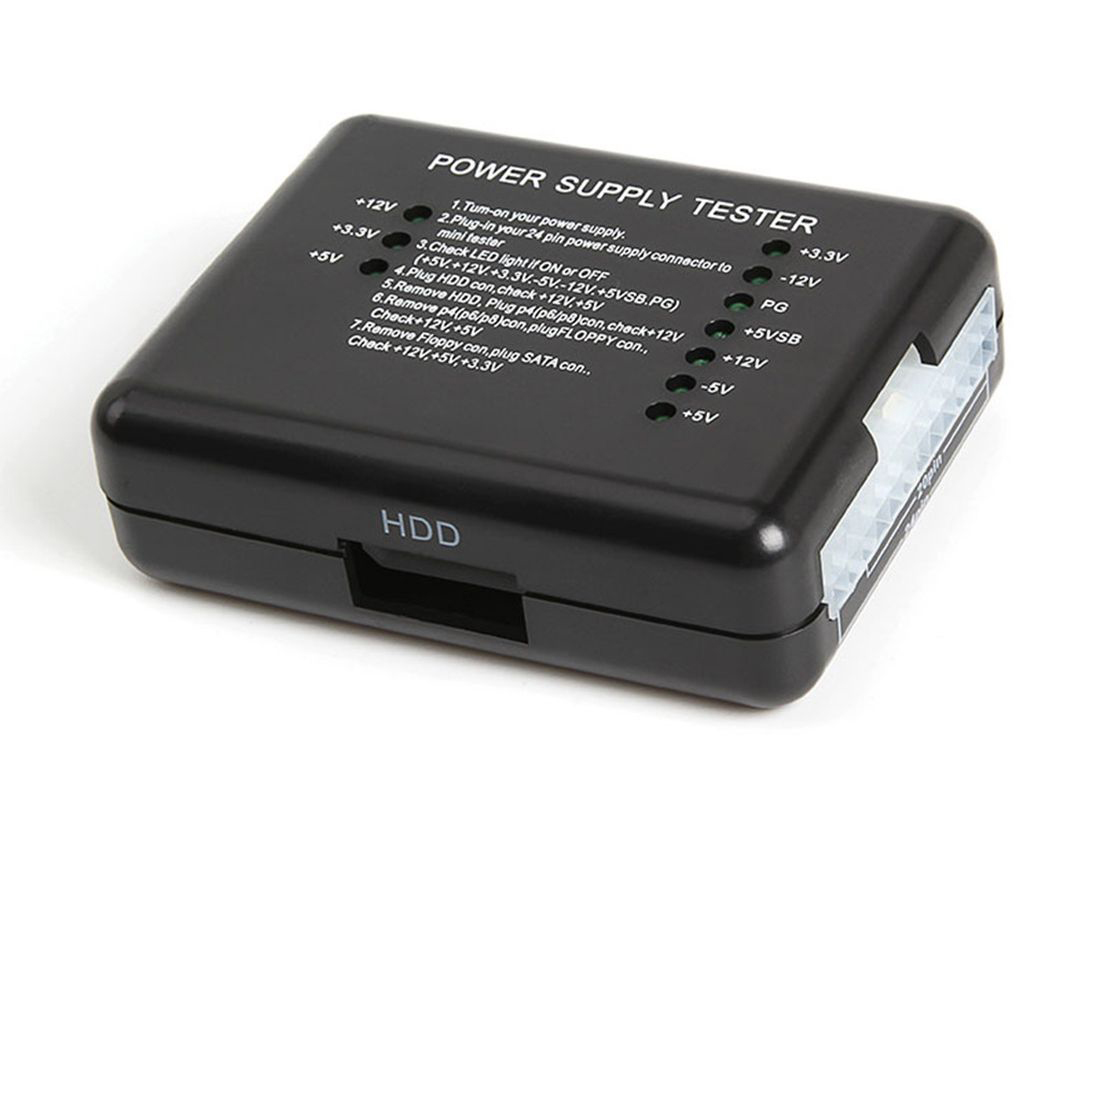
Easy to use, operating instructions on the face of the tester
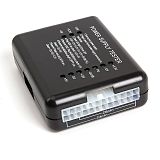
Connectors: Floopy, HARD DISK, CD-ROM, SATA, 4PIN (P4), 8PIN, 6PIN
Technical specifications:
Brand: XT-XINTE
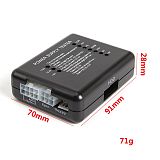
Dimensions: 91 * 70 * 28mm
Weight: about 71g
Black colour
Package content:
1 x Power supply tester
Instructions:
1. Power supply power supply under test
2. Insert the 24P (20P) power plug to be tested in the corresponding 24P (20P) power socket tester power supply
3. Check if the 7 lights on the right (+ 3.3, -12V, PG, + 5VSB, + 12V, -5V, + 5V) are on, it is better
4. Insert the HARD DISK power plug power socket to be tested in the HARD DISK power supply tester and check if the two lights on the left (+ 12, + 5V) are on.
5. Pull out the HDD plug from the power supply tester, and then insert the P4 (P6 / P8) plug into the corresponding P4 (P6 / P8) power outlet, check if the left light (+ 12V) is on, it's better
6. Pull out the P4 (P6 / P8) plug from the tester socket, and then insert the FLOPPY (floppy drive) insert into the corresponding FLOPPY socket, check if the two lights on the left (+ 12V, + 5V) are come on, all the lights are better
7. Disconnect the FLOPPY plug from the tester socket, and then insert the SATA plug into the corresponding SATA socket, check if the three lights on the left (+ 12V, + 3.3V, + 5V) are on, all lights are on better
As different computers display colors differently, the color of the actual item may vary slightly from the above images, thanks for your understanding.


 Power Cable Adapter Famale to Male Power Supply Connector Convertor 8P to 8P Wire 12cm")
 Graphics Video Card Power Supply Cable Dual Double Port Connector 8p to 8p 18AWG Wire Adapter for Computer PC")


No related record found